The Cooking Dojo: How To Make Mochi Ice Cream

Hey there everyone! For my first article, I thought I would discuss a very popular dessert amongst the anime fans, and lovers of Japanese cuisine; Mochi ice cream. The first time I had it, I was blown away by the taste and soft texture. I have discovered most people like it because it doesn’t taste quite like you would expect. Before I dive into how to make it, I thought I would share a little bit of history behind the popular dessert. Well first off, when I was doing research on how to make this, I asked a few chefs if they had ever made it or heard of it. I was quite surprised that none of them even knew about it! Although, it’s no surprise considering the production of this didn’t begin in the United States until 1993. It’s a much younger dessert than I had once thought.
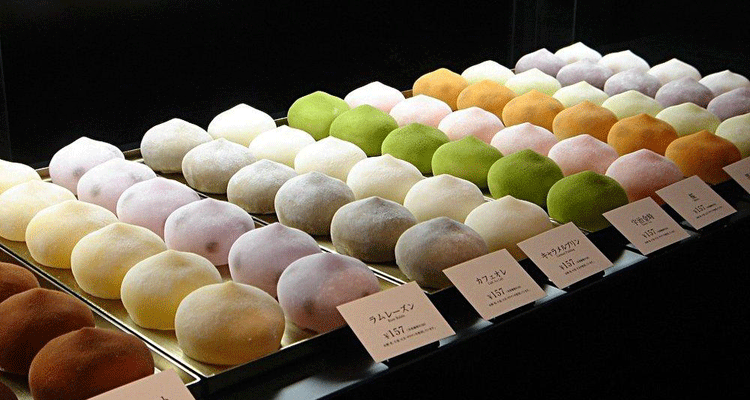
Mochi Ice cream is a soft round dessert ball made with a sticky rice cake on the outside and ice cream filling on the inside, and is usually dusted with corn starch. It can be made with any flavor of ice cream you want, but it is typically found in five flavors; Vanilla, Chocolate, Strawberry, Green Tea, or Red Bean. Here is a recipe I followed when I made this the first time.
Recipe:
1 Cup Rice Flour
Corn Flour for Dusting
¾ Cup Water
¼ Cup Sugar
Softened Ice Cream of your choice
1. Mix together rice flour and water to make a paste in a glass bowl. Stir in sugar until it dissolves
2. Cover the glass bowl with plastic wrap and microwave for 2 minutes. If it is not cooked, cover again and microwave for 30 seconds.
3. When dough has cooled, place on a cutting board that is covered in plastic wrap or else the dough will stick. Dust with corn flour. Make sure to dust your hands with the corn flour or else the dough will stick to you faster than an alien symbiote!
4. Spread out dough and cut into pieces(1/8 inch thick). Your piece should be big enough to surround a standard scoop of ice cream.
5. Wrap the dough around a ball of softened ice cream of your choice. Place in the freezer.
6. When frozen, you are ready to eat!
Or if you are a visual learner like me, you can check out this cooking tutorial I made myself!


